In many cases you might be transferring a website from another hosting platform to one of the GetSpace's web hosting servers. This step-by-step guide provides you the instructions on how you can test the website functionality without making any changes to the domain's DNS records. You need to know the new IP address of the web hosting server. You can usually find this from the order confirmation email/details.
Step 1: Open the Mac Terminal
Open the Finder, and go to Applications > Utilities > TerminalType the following in the terminal window:
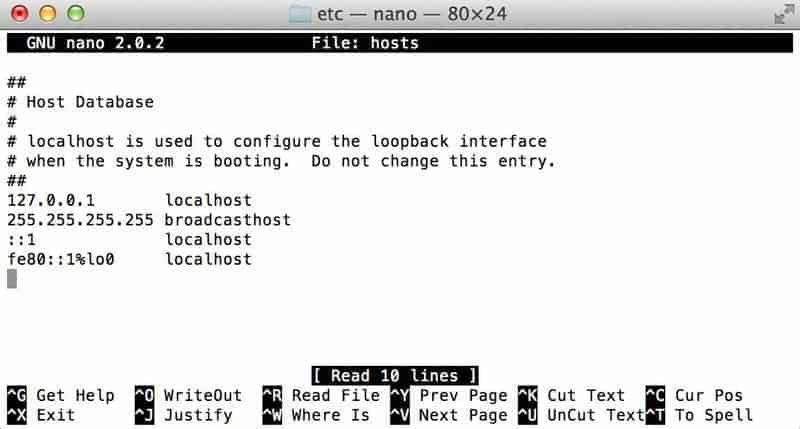
sudo nano /private/etc/hostsThe system should prompt you to enter your password – this is the same password you use to log in to the system. Type it in, and hit Enter.
Step 2: Edit Mac Hosts File
The IP address is first, and the server name comes second. Comments are indicated with a ‘#’ sign. Consider the example below:0.0.0.0 server.domain.comEnter the IP address you want to refer to first, hit space, and then the server name (or domain name) that you want to associate with it.

If you make a mistake, you can tell Mac OS to ignore a line by typing a # at the beginning of that line.
Save your changes by pressing Command + O, then exit by pressing Command + X.
Conclusion
Editing the hosts file in Mac. It’s especially handy that the file looks the same, no matter which you’re running! Just make sure you know the IP address of the server you want to connect to, and then specify the name you want to type into a browser, and you’ll be on your way!


Add Comment