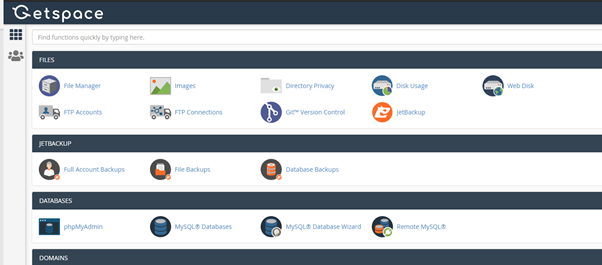
1. Log in to your cPanel control panel.

2. In the FILES section, select the JetBackup tool.

There you will find available recovery methods: Full Backup, File Backup, and Database Backups. In the Queue area, you will see a list of ongoing recoveries and their status.
3. Click File Backups to restore the files.

4. Select the required backup Creation Date and click File Manager.

In the File Manager, you can browse through all the files stored in that backup and select exactly the folders or individual documents you need.
5. After ticking the desired items, click Restore Selected to start recovering.

6. Tick in that you are sure you want to restore selected elements.
All old information created after the backup restore point will be permanently lost.

7. Click Add to Restore Queue.

The restore time depends on the size of the items being recovered. Wait for the recovery process to complete and you can continue working.
Each customer has one free backup restore per month.


Add Comment